How Do I Install an AGL Nano Vehicle Tracker?
29 September 2026
Installing Your Nano Tracker Is Simple
Before you begin, have your vehicle registration and the 15-digit IMEI number shown on your Nano ready. Once the tracker has been installed, email these details to service@agl-ltd.co.uk
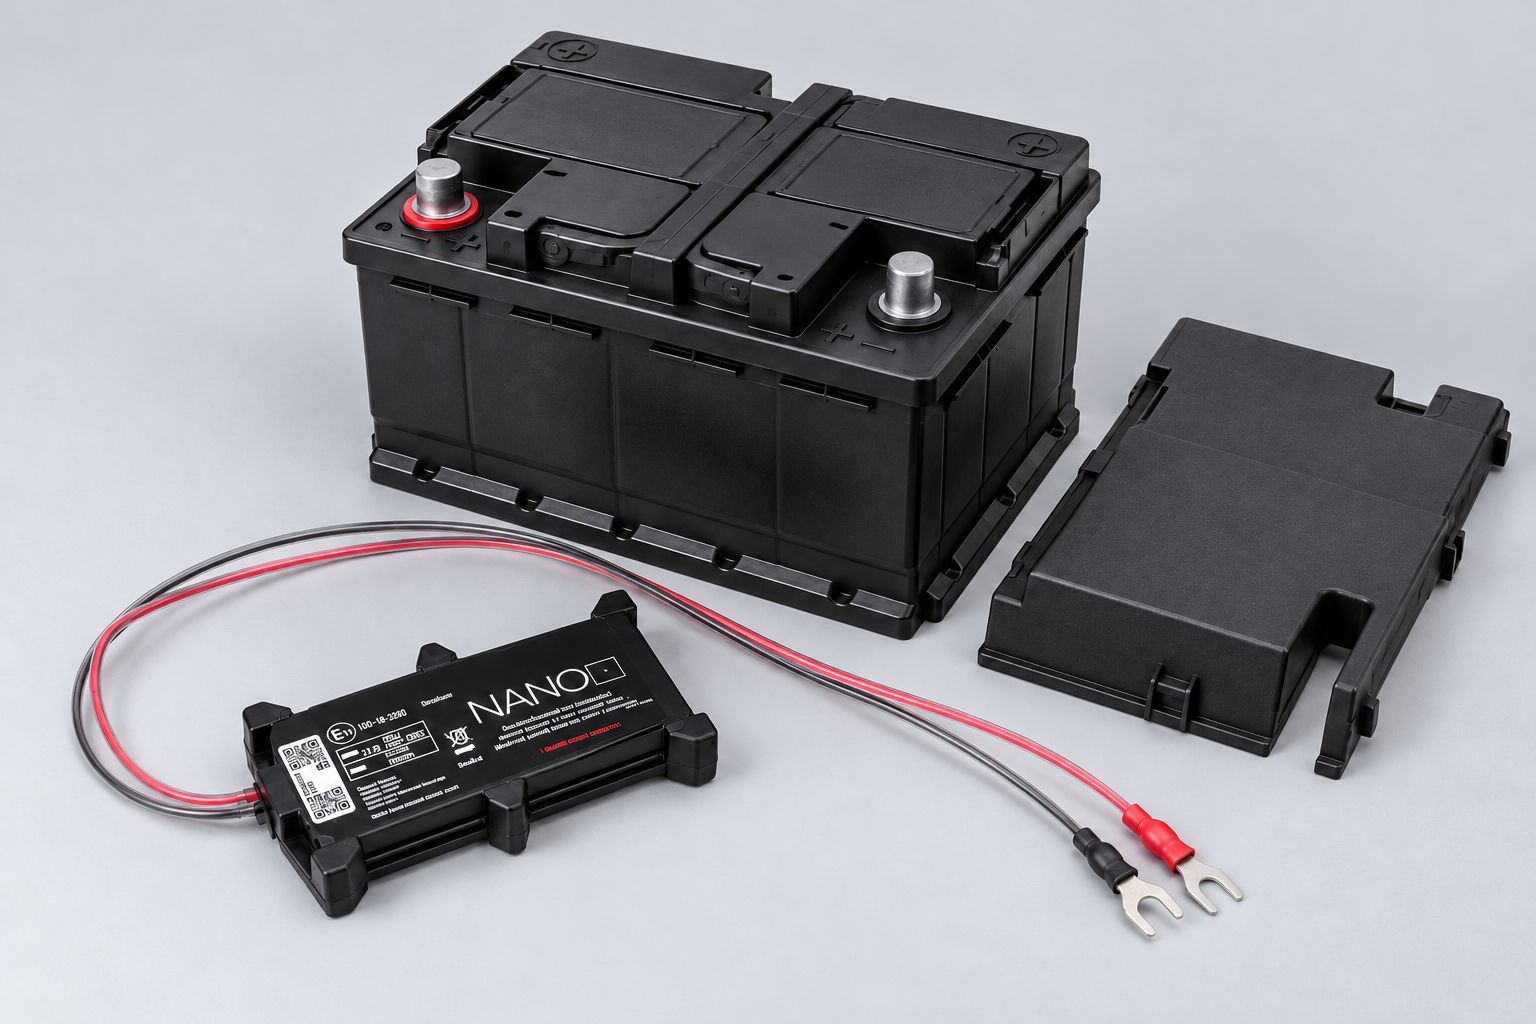
1. Choose the Installation Location
Locate the vehicle battery and remove its cover if fitted. Choose a discreet position for the Nano where the cables can comfortably reach the battery terminals and the battery cover can still be replaced.
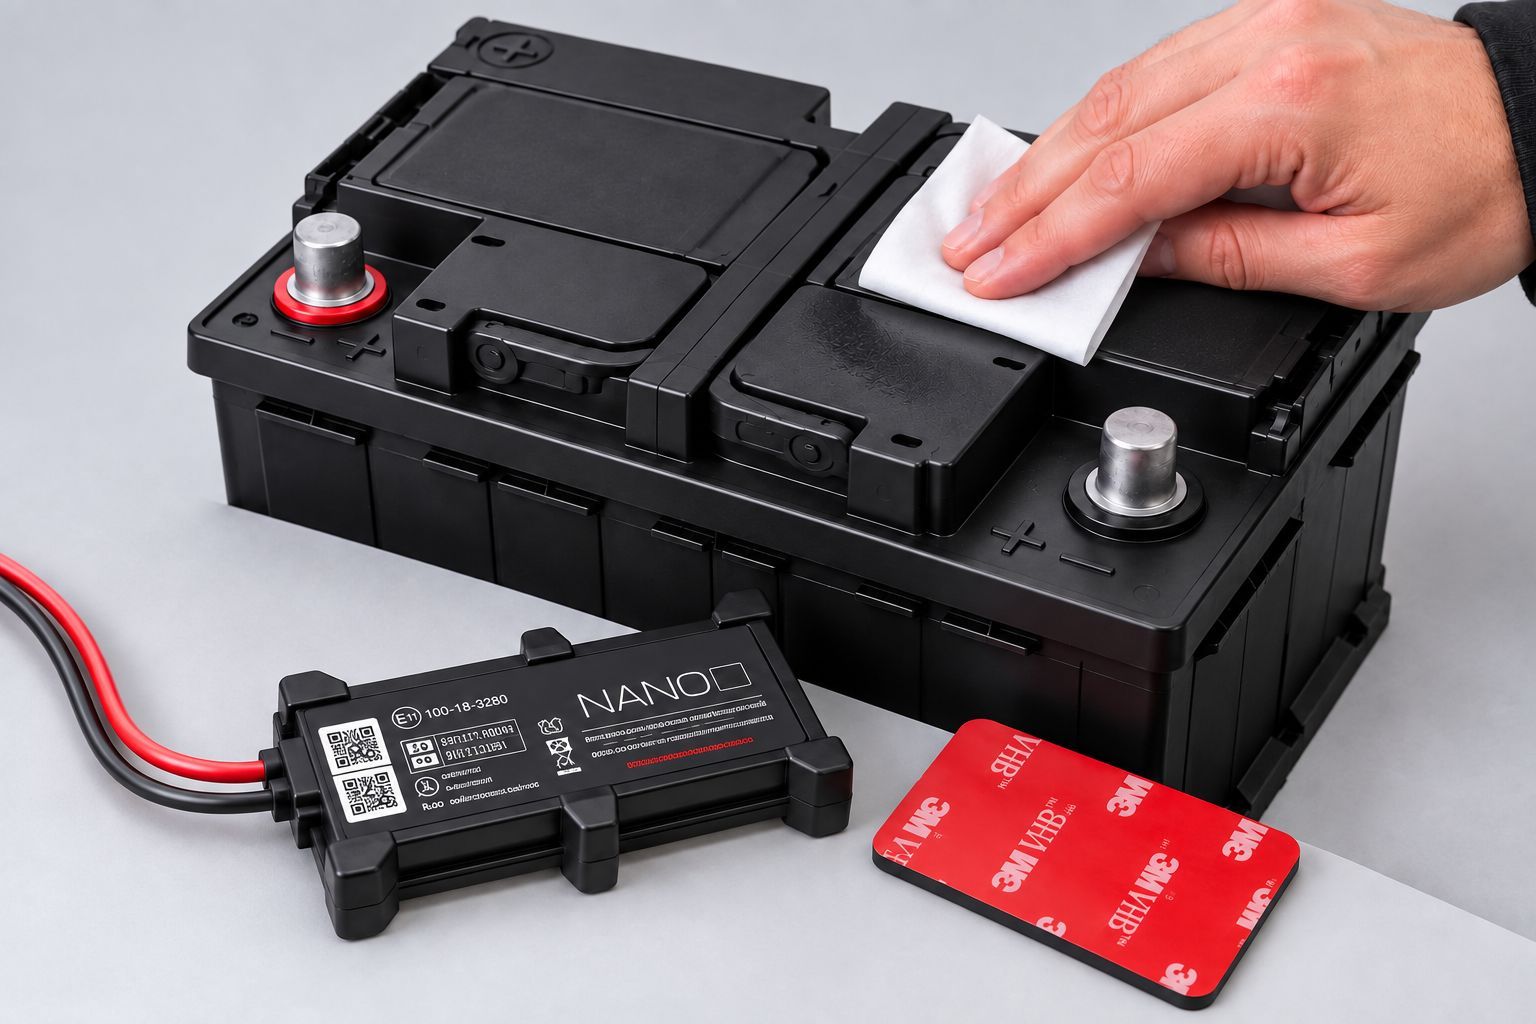
2. Prepare & Secure the Nano
Keep the vehicle switched off. Clean and degrease the mounting surface using the supplied alcohol wipe, then secure the Nano using the adhesive fixing with the NANO label facing upwards.
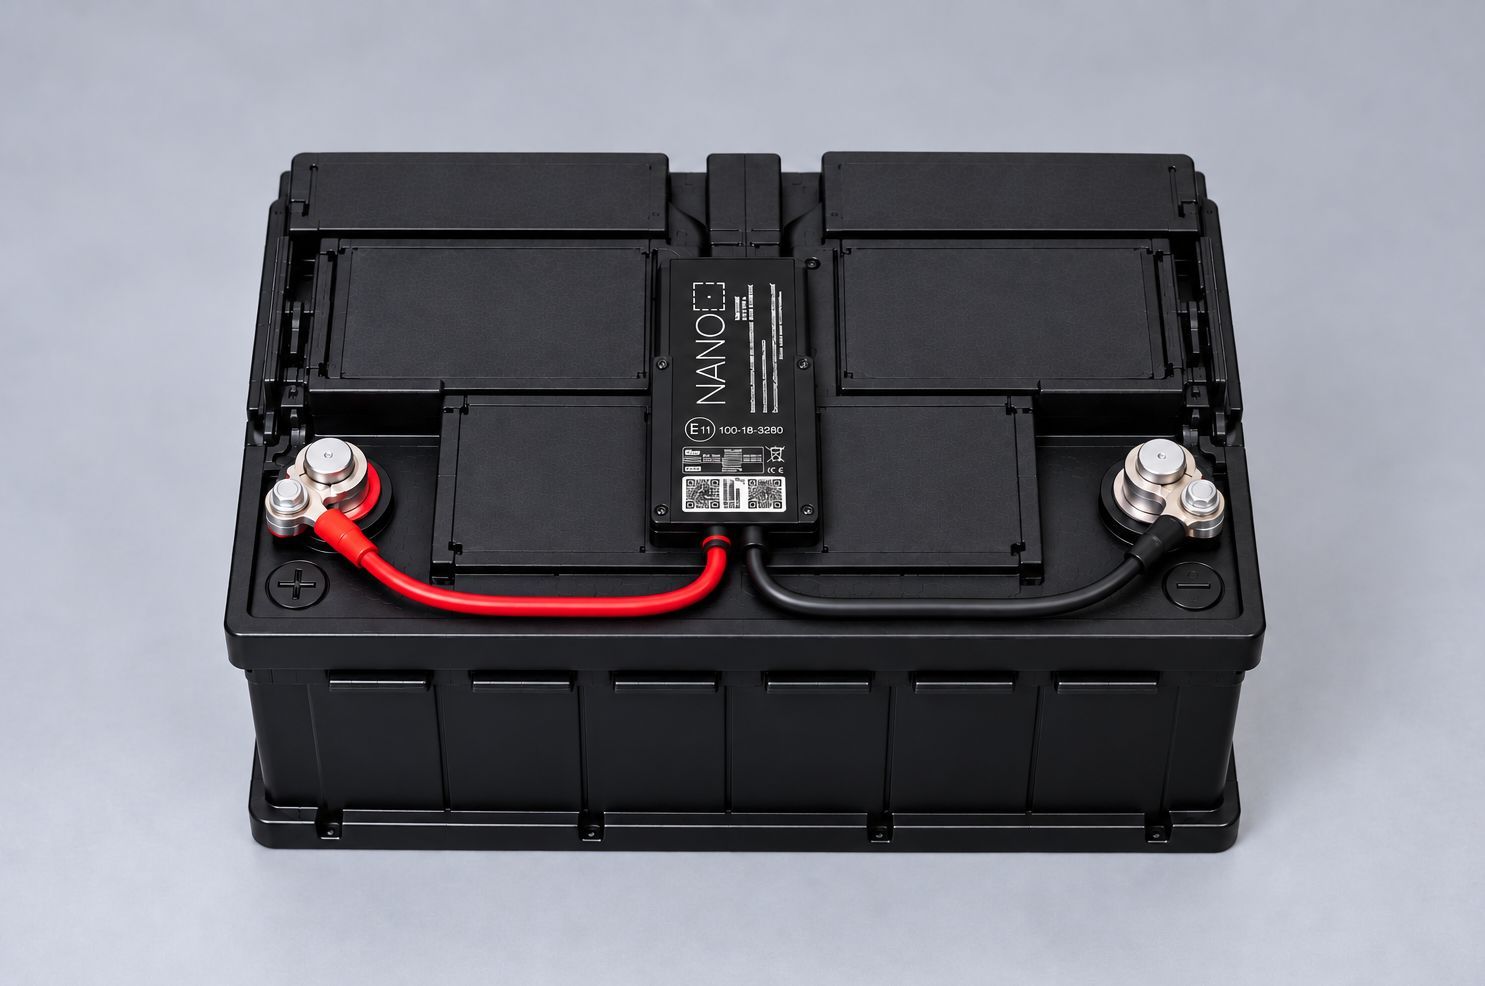
3. Connect the Nano to the Battery
Loosen the positive (+) terminal and connect the Nano's red cable, then tighten securely. Repeat at the negative (−) terminal using the black cable, ensuring both connections are secure.
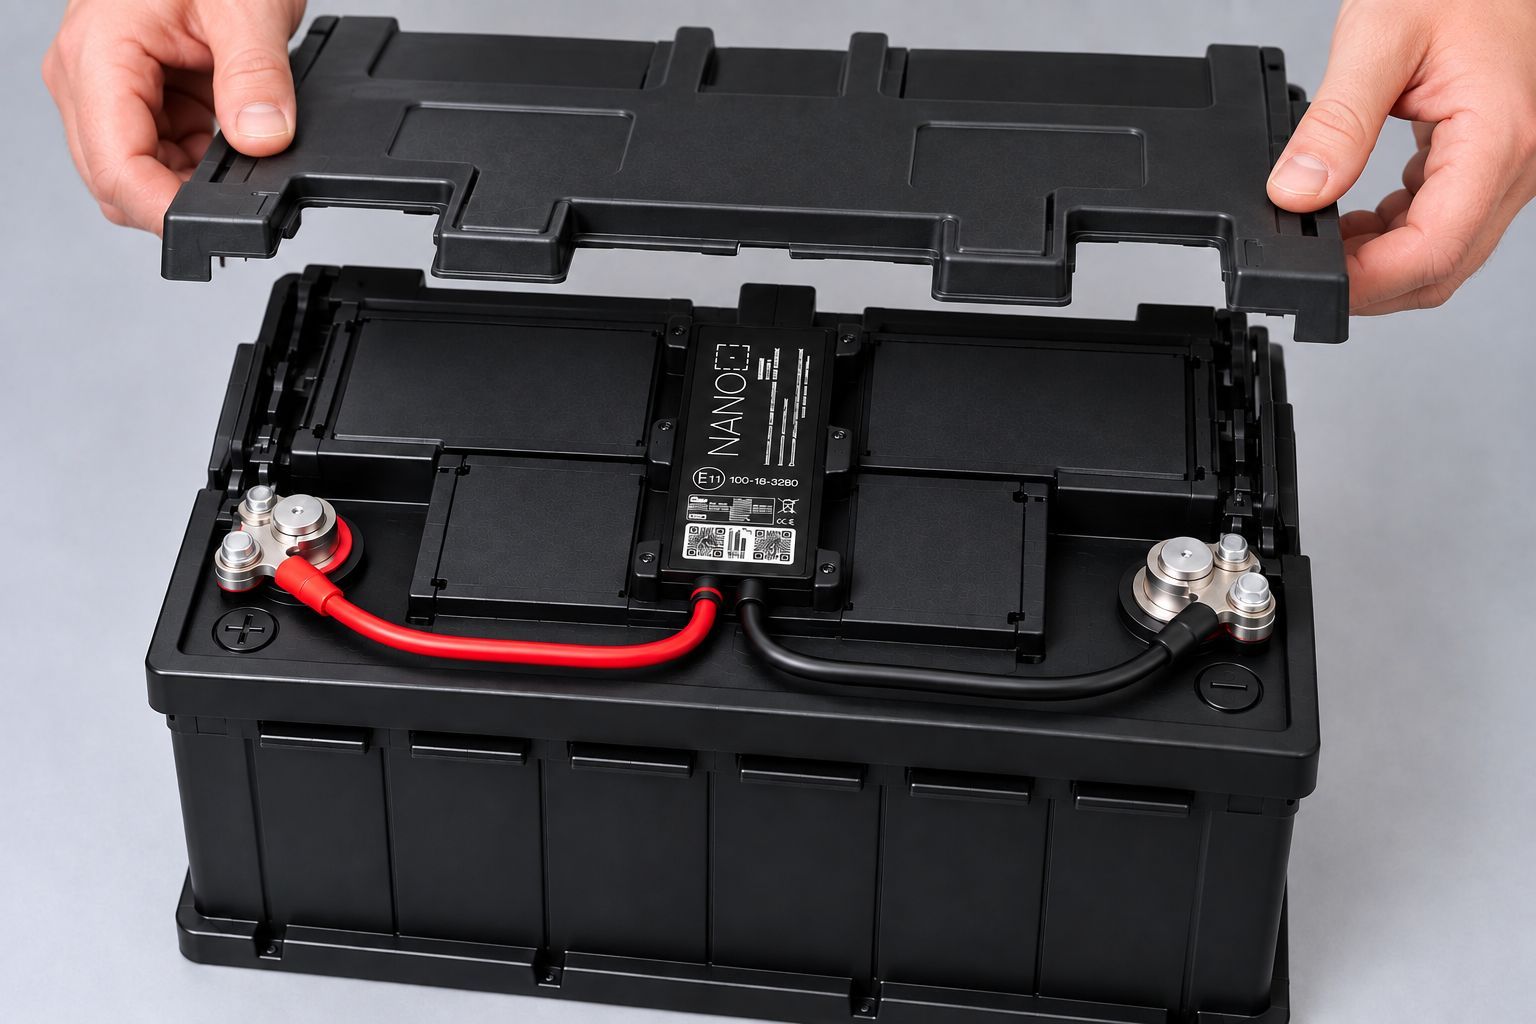
4. Complete the Installation
Check that the Nano is firmly secured, both battery connections are tight and the cables are safely positioned. Once everything is secure, replace the battery cover if one was removed.
Watch: How to Install Your AGL Nano Tracker
Prefer to follow the installation visually? Watch the Nano installation guide below to see the process step by step.
Installation Complete – Send Your Details to AGL
Once installed, email service@agl-ltd.co.uk with the vehicle registration and the Nano's 15-digit IMEI number so we have the details for your device.
Once your details have been received, the Nano can be associated with the correct vehicle, allowing you to start using your tracking solution.
Need help with your Nano installation? If you're unsure about any part of the process,
contact AGL and our team will be happy to help.
Ready to get more from your fleet?
See how AGL's vehicle tracking, camera and fleet technology can give you greater visibility, evidence and control.
More Fleet Insights